TABLE OF CONTENTS
Pre-requisites:
- Wishlist Plus App Pro plan or above
If you are a business owner, you would want to recover revenue from abandoned carts. Wishlist Plus’ ‘Save for Later’ feature is designed to do exactly that.
With ‘Save for Later’, enable your shoppers to move products efficiently from their cart to their ‘Save for Later’ list. You can later use their ‘Save for Later’ list to run remarketing campaigns.
So, here’s how you can enable the ‘Save for Later’ feature on your website.
Step 1:
Log in to your Shopify Portal account and navigate to the ‘Wishlist Plus --> Features’ option under the ‘Apps’ section on the left sidebar.
Step 2:
To initiate the ‘Save for Later’ feature implementation, click on the ‘Manage Save for Later’ button inside the 'Save for later’ option under the ‘Capture every Shopper interaction that counts’ section.

Step 3:
To set up the ‘Save for Later’ popup, click on ‘Configure’ next to the ‘Configure Pop-up on removing product from cart’ option under the ‘Save for later configuration options’ section.
Note: As you set up the popup, you can preview the changes in real-time on both Desktop and Mobile from the right-side panel
Step 3.1:
Enter the pop-up title, set the button text & colors, choose the pop-up behavior, and click on ‘Save Changes’ once satisfied. To start again, click on ‘Discard’.
Note: By default, the secondary button & button text colors will be the opposite of what you choose for the primary.

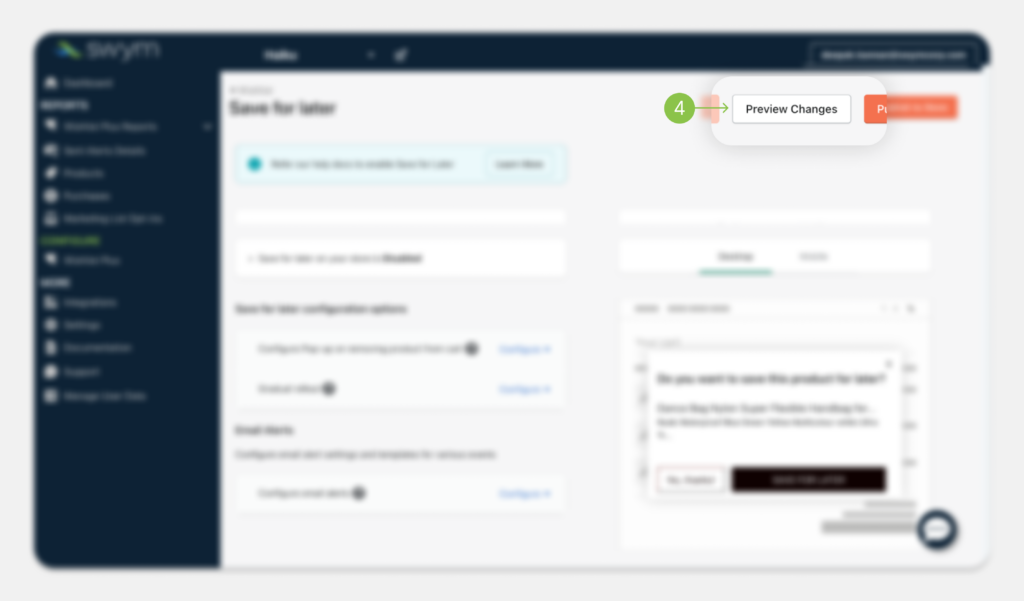
Step 4:
To get a preview of how the ‘Save for Later’ feature would look on your website, click on ‘Preview Changes’ on the top right.
Step 5:
On the subsequent popup, click on ‘Preview Save for Later’ to go to your website and follow the steps mentioned on the popup for a firsthand experience of the ‘Save for Later’ feature.

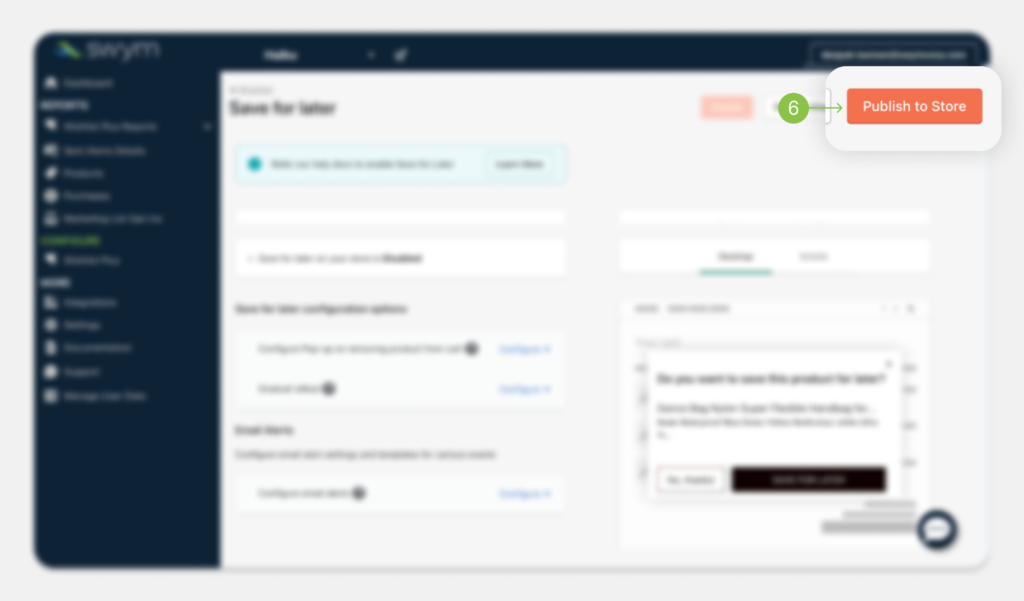
Step 6:
Once you’re happy with how ‘Save for Later’ works on your store, click on ‘Publish to Store’ to make the changes live on your website.
Note: You can contact our support at all times by clicking on the speech bubble icon on the bottom right.
Voila! You have successfully enabled the ‘Save for Later’ feature on your website.
Related Articles:
Was this article helpful?
That’s Great!
Thank you for your feedback
Sorry! We couldn't be helpful
Thank you for your feedback
Feedback sent
We appreciate your effort and will try to fix the article