NOTE: We are currently in the process of migrating to a new version of our platform (V3). To learn how to figure out which version you are on, click here. This article is on a feature that is currently only on the older version of our platform (V2) and will be made available soon for our V3 users.
How to customize the text and position of the Wishlist notification pop-up.
Intended Audience : Agency / Software Developers / Shopify Experts
1. Altering the position of the notification pop up.
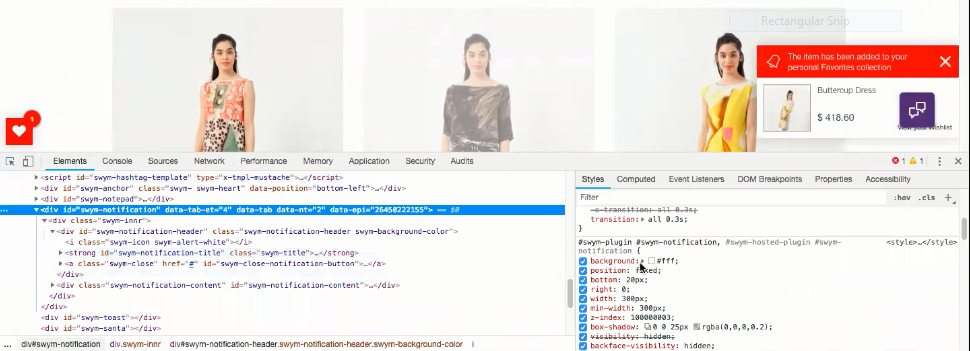
a. Select the HTML element that corresponds to the Wishlist Notification box (ID : “swym-notification”).

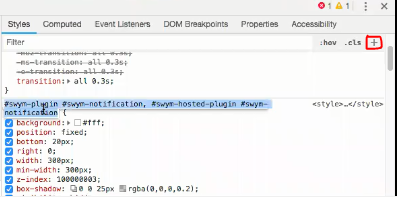
b. Copy the corresponding CSS class from the Styles pane and add a new style rule by clicking on the (+) button marked in the image below.

c. Paste the CSS class copied earlier and add the attributes to change the position of the Wishlist Notification.

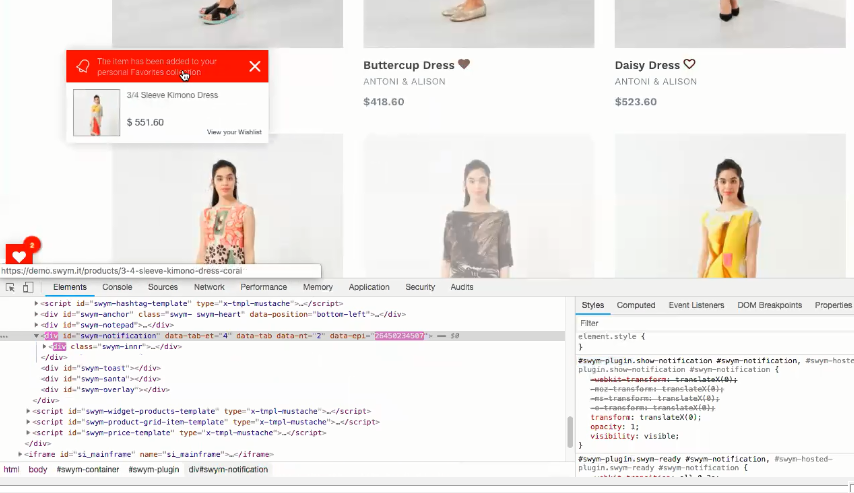
For example, add bottom: 200 px and left: 100 px as the new position attributes. Make sure you add “!important” after each attribute value. This overrides the default position attributes. The wishlist notification moves to the new position as shown below.

Need help with the right CSS properties? Feel free to reach out to us via email to support@swymcorp.com
2. Changing the text on the pop up
The text content is hosted on the backend. To change the text, please contact us via email.
Was this article helpful?
That’s Great!
Thank you for your feedback
Sorry! We couldn't be helpful
Thank you for your feedback
Feedback sent
We appreciate your effort and will try to fix the article